We’ve seen it all: cabinets that block the dishwasher or fillers that are just a bit too wide. But for us at the Parlun Building, distance shouldn’t be a barrier to perfection. Here’s how we bridge the gap between a digital CAD file and your actual home. Whether you’re near or far, you can easily obtain the perfect kitchen or whole-house design that meets your needs. Let’s see!
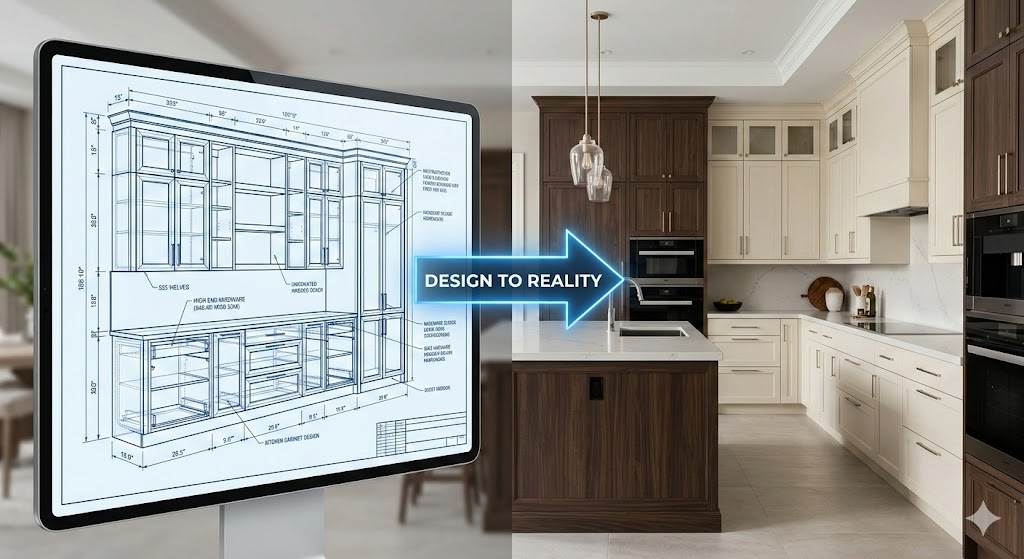
In the age of digital manufacturing, physical distance is no longer a barrier. With CAD (Computer-Aided Design) and a standardized measurement protocol, we often achieve even greater precision than traditional on-site measurements.
How Do We Design Your Space Remotely
Remote 3D design doesn’t begin with drawing. It begins with turning vague ideas into precise, buildable data. Here are the five key steps that ensure every pixel reflects real-world accuracy.

Step 1: Discovery & Style Brief
Before we open any software, we take time to understand how you actually live.
On the functional side, do you need a large corner Lazy Susan or a dedicated built-in coffee station?
We also collect detailed appliance specifications for the models you plan to purchase, such as Sub-Zero refrigerators or Wolf cooktops. Every CAD layout must account for exact ventilation clearances and power supply locations.
Aesthetically, you can share Pinterest boards or reference images to define your preferred door style, whether that’s Shaker or flat panel. This ensures we’re aligned before design begins.
Step 2: Site Data Integration
This is where your home moves into our digital environment.
We input your measurements into professional cabinet design software such as 2020 Design, Cabinet Vision, or AutoCAD.
Beyond cabinetry, we model windows, door openings, outlets, switches, and even adjacent circulation paths. This prevents blocked switches, tight passageways, or installation conflicts later on.
Step 3: Layout Planning & Workflow Analysis
We begin with a white-box model focused purely on function.
The Work Triangle remains central. We optimize the relationship between the sink, cooktop, and refrigerator to create a natural workflow.
Ergonomics are equally important. Countertop heights are adjusted to suit you. Wall cabinets are positioned to avoid head clearance issues. At this stage, we review the overall logic together using a top-down view to confirm everything feels right.
Step 4: High-Fidelity 3D Rendering
We start full visual rendering after the layout is approved.
We add realistic wood grains, marble surfaces, and hardware finishes to the model.
Lighting is carefully simulated, with both natural daylight and built-in LED lights under the cabinets. This lets you see how things like dark wood will really look in your kitchen.
We also improve the details, making sure that every joint is fixed before production, from toekick transitions to fillers and crown molding connections.
Step 5: Virtual Walkthrough & Technical Review
Before we start making things, this is our last line of defense.
We provide you a completely interactive 360-degree view of your location through Zoom or a secure web link.
We check drawers and cabinet doors while they are open to make sure there are no clearance issues.
Lastly, we prepare a full set of technical drawings with exact measurements. The finalized files won’t be sent to production unless you formally approve them.
We don’t just build cabinets; we engineer spaces. Our 5-Step CAD Journey is designed to eliminate guesswork, ensuring that every millimeter of your kitchen is accounted for before we even touch the wood. Visualizing your dream is no longer a luxury; it’s our standard operating procedure.
To make the process clearer at a glance, here’s how the five steps break down:
|
Step |
Focus |
What We Do |
What You Do |
|
01. Discovery |
Defining Your Vision |
We align on your lifestyle, daily habits, and aesthetic direction. |
Share Pinterest inspiration and your intended appliance models. |
|
02. Data Input |
Site Digitization |
We transform your measurements into an accurate 3D digital model. |
Send your measurement draft and site photos. |
|
03. Layout |
Ergonomics & Workflow |
We optimize functionality, including the Work Triangle and spatial flow. |
Review and confirm the initial layout during a Zoom meeting. |
|
04. Rendering |
High-Fidelity Visualization |
We apply materials, textures, and lighting to simulate the final look. |
Confirm colors, finishes, and overall visual feel. |
|
05. Tech Check |
Final Technical Audit |
We conduct a full technical validation to ensure production accuracy. |
Sign off on the finalized production drawings. |
Why Precision in Measurement Matters
If CAD is the brain, then the measurements you provide are the DNA. If the DNA is flawed, even the most intelligent system cannot produce a cabinet that fits perfectly.
The Pro’s Toolkit
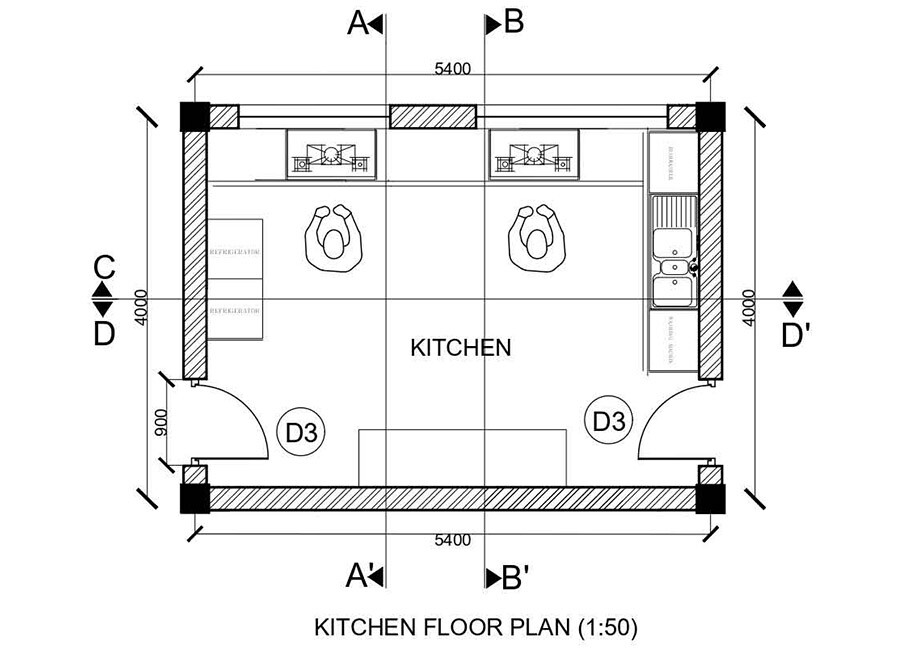
Start with the right tools. We recommend using a steel tape measure, such as a Stanley tape, rather than a flexible sewing tape. If possible, invest in a Bosch laser distance measurer, typically around $40. The improvement in accuracy is significant.
When measuring longer spans, two people working together helps prevent tape sagging, which can introduce subtle but costly errors.
The Datum Point Method
Avoid measuring randomly from different spots. Instead, establish one fixed reference corner as your 0,0 point. All horizontal measurements should extend outward from that single origin.
Walls are rarely perfectly straight. Measure the same wall at three heights: at baseboard level, at countertop height around 36 inches (about 91 cm), and at wall cabinet height around 72 inches (about 183 cm). If those numbers differ, our CAD engineers will know exactly how much filler or scribe allowance to build in.
Mapping Obstacles and Utilities
Cabinets usually fail to fit not because the wall width is wrong, but because small protrusions were overlooked.
Measure the centerline distance from water supply outlets, gas valves, and drain pipes to the nearest corner. These reference points are critical.
Be sure to measure the thickness of window trim and door casing. Many cabinet doors fail to open fully because they collide with window frames. Also record the height and horizontal position of electrical outlets, as this determines where openings must be cut into the cabinet back panels.
Photo Verification
This is one of the most powerful tools in remote collaboration.
We will ask you to provide:
If you’re unsure, give us the ‘Clear Opening,’ meaning the narrowest distance between two opposing points. From that number, we automatically subtract a 1/4-inch installation tolerance, approximately 6 mm, within the CAD file to ensure a safe and precise fit.
Below is our measurement template for your reference.
Kitchen Remote Measurement Data Collection Form (Draft)
Project Title: Kitchen Measurement Protocol – [Client Name / Project ID]
Units: ☐ Inches ☐ mm
Part One: Spatial Envelope (The Box)
To identify any wall irregularities, please measure the same wall at multiple heights.
|
Wall Reference |
Bottom Width (A) |
Middle Width (B) |
Top Width (C) |
Notes (Out of Plumb?) |
|
Wall 1 (Primary Wall) |
|
|
|
|
|
Wall 2 (Adjacent Wall) |
|
|
|
|
|
Ceiling Height (Floor to Ceiling) |
Left Corner: |
Center: |
Right Corner: |
Purpose: Verify whether the ceiling is level. |
Part Two: Key Details & Fixed Points
All measurements should start from the [designated reference corner].
1. Windows & Doors
Distance from reference corner to edge of window trim: _______
Total window width (including trim): _______
Sill height (from finished floor): _______
2. Utilities (Centerline Measurements)
Distance from drain pipe centerline to reference corner: _______
Distance from gas valve or vent centerline to reference corner: _______
Existing outlet height (from finished floor): _______
3. Structural Obstructions
Radiator depth: _______
Column or flue dimensions (W × D): _______
Part Three: Appliance Specs
We will allocate proper ventilation clearances in the CAD layout based on the following information.
Fridge: Brand / Model ________ Overall Dimensions (W × H × D): ________
Dishwasher: ☐ Standard 24″ (61 cm) ☐ Compact 18″ (46 cm) ☐ Other ________
Range / Oven: ☐ Built-in ☐ Freestanding Width: ________
Microwave / Coffee Machine: Will it be integrated into cabinetry? ☐ Yes ☐ No
Part Four: Required Photo Checklist
Please take all photos in good lighting and upload them to [Shared Folder].
[ ] 360° view: Stand in the center of the kitchen and capture the full perimeter.
[ ] Reference corner: A clear photo of the corner used as the measurement origin.
[ ] Obstruction close-ups: Photos showing the measuring tape in place with visible readings next to window trim, pipes, or other fixed elements.
[ ] Ceiling and floor junctions: Images of transition lines to help us assess beams, slopes, or noticeable floor settlement.
If you like, we can provide a short video showing how to handle uneven walls or non-90° corners, the spots where remote measurements tend to go wrong.
You can also use a LiDAR scanner on your phone (like Polycam or Canvas.io) to quickly generate a preliminary room model.
Still feeling unsure about measuring? Don’t worry. We’ve prepared a Cabinet Measurement Guide. Just fill it out, take some photos, and send it back—Parlun Building will take care of the rest. Click the button below to get your free copy.
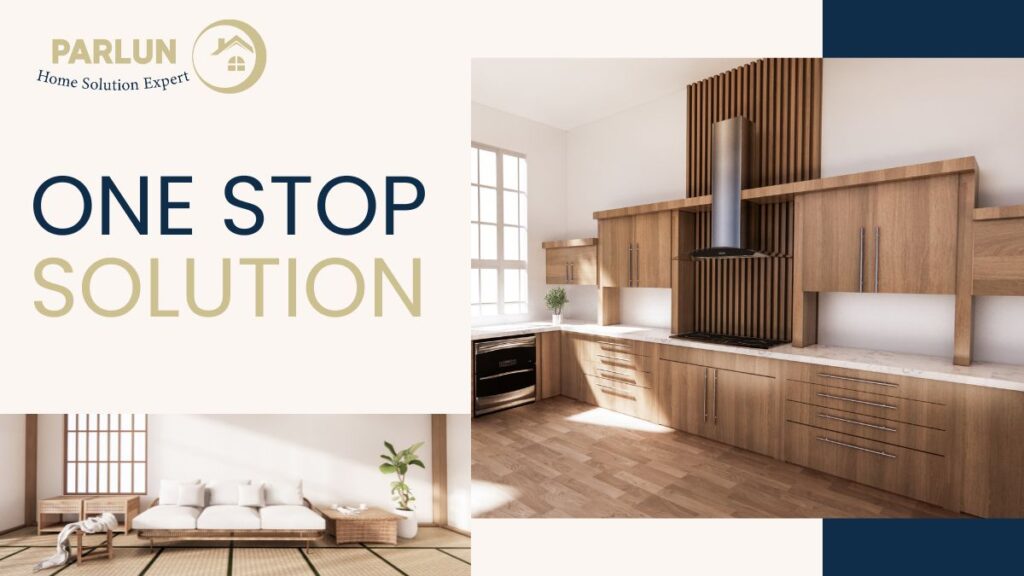
What Else: More Ways We Help
CAD solves spatial challenges, while physical samples like door panels, hardware, and countertops let you feel the materials before committing. “CAD tells you where it fits; samples tell you how it feels.” We offer sample delivery to make your online custom kitchen experience smoother and more tangible.
At Parlun, we know the biggest challenge in remote design is communication. That’s why, beyond standardized workflows, we provide installation guides (each box includes the corresponding CAD number for easy reference), case studies, and more.
Turning CAD into reality can seem complicated, but with professional knowledge and the right tools, it’s simpler than it looks. Any questions along the way? Contact us anytime; we’re always happy to help.