Preparing the front door removal – disassembly
The front door is considered the calling card of the entire building. It reflects the individual style of the residents and serves as a gateway to one’s home. Therefore, as a highly frequented building element, it should be high quality and have strong burglary resistance and thermal insulation parameters. We will show you how to remove the front door in a few steps. First of all, some essential preparations and tips:
- Compare the dimensions of the new front door with those of the wall opening before starting the removal.
- Work carefully and carefully to damage as little masonry as possible; this will facilitate the subsequent installation
- Carry out the steps in pairs – for a fast and safe work process.

Protective materials
- Safety goggles
- Protective gloves
- Hearing protection
- Tarpaulin/painter’s tarp
- Tile
Tools
- Cordless screwdriver
- Screwdriver
- Saber saw/fox saw
- Hammer
- Chisel
- Folding rule
- Cutter knife
- Wedge
- Vacuum cleaner
- Crowbar
General preparations:
Provide materials and tools
Finally, check again that all tools and materials are ready for a smooth process.
Safety
Safety is the top priority. When working with heavy equipment, we recommend that you and your helper wear the necessary protective clothing.
Checklist and instructions
To play it safe, keep the instructions and a checklist handy.
Preparations at the front door:
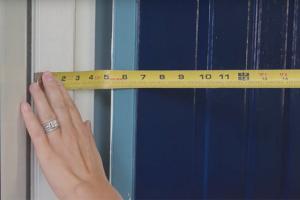
Check dimensions
Before dismantling, check that the wall opening dimensions match the dimensions of the new front door.
Protect floor and furniture
Cover surrounding furniture and floors to protect from dust and small debris. Also, make sure there is room to work.
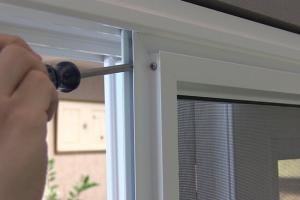
Unhinge front door leaf
The first step is to loosen the door hinges. Depending on the manufacturer, the structure and functionality of the door hinges differ. Please read our guide to adjusting the front door to find out what type your door hinges are and how to loosen them easily.
Four steps to remove the front door
Remove screws
The frame screws anchor the frame mostly circumferentially in the wall reveal. Remove them with a cordless screwdriver. If you do not find any screws, the door frame was probably secured with a lug anchor or mounting anchors. In this case, you can take a masonry saw or a foxtail to help.
To prevent plaster cracks, you should separate the frame from the surrounding masonry from the outside and inside with a cutter knife so the transition remains clean.

Saw through the front door frame
Now put on protective gloves and goggles if you haven’t already done so. Use a jigsaw or reciprocating saw to cut through the old door frame easily. Set the blade at an angle to avoid wedging later. Then remove the center piece.
Our tip: The angled approach prevents later wedging of the frame parts.
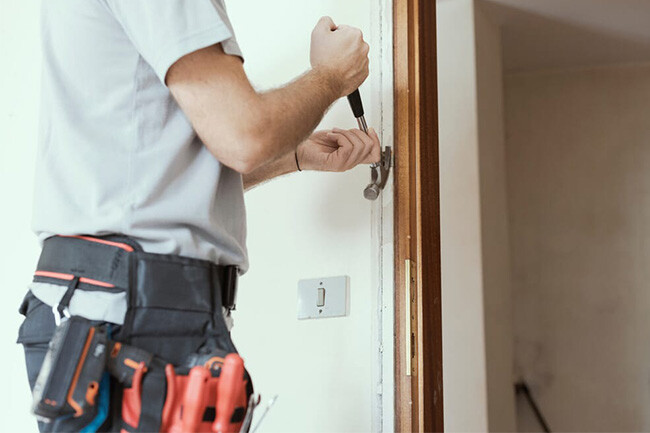
Remove the side frame
By tapping lightly with a hammer, you can loosen the fit of the frame in the wall reveal. Start at the top edge of the frame and use a pry bar to pry out the individual frame pieces. Slowly work your way down to the sill until the entire frame is separated from the wall reveal.
Clean the joints
Finally, prepare the wall to reveal the installation of the new front door. First, remove all installation residues such as building foam, mortar, or silicone. You can pull any dowels stuck or sink them into the wall reveal. Now vacuum the joints free, and the new installation can begin.